Sharpening induced anxiety is better known as Bevel Envy. A debilitating condition that affects a broad range of woodworking practitioners. This may seem like a joke, yet if you are unable to sharpen well for whatever reason - it will limit you in the craft.
Last time we met Donna. Donna suffers from bevel envy, yet she is starting to feel more confident. She is sold on hand sharpening, and she loves the concept of using waterstones, though the inevitable mess does worry her. Then there are diamond stones, and the upfront cost to consider. The cost of these may be a problem. Donna is at a crossroads, what method should she employ? She needs more information before she can commit.
And besides all this, how is this equipment used? Even though there are a billion You Tube videos on sharpening, Donna is still confused. Not necessarily by the process, more by the lingo the video presenters use. What the hell is a bevel? What angle should my bevel be? Who is right and who is wrong? Confusion, another documented side effect of bevel envy.
Just so we are clear - what is the bevel?
The bevel is the angled grind on the end of your tool. This bevel creates the cutting edge that you need to cut wood. Simple. This whole article is about grinding and preserving the bevel. Making it as sharp as possible so you can sublimely slice wood.
Sharpening by hand – a simple step by step guide
Like most things in woodworking, sharpening is a process. A step-by-step way of completing the task to ensure you get a predictable result. Now that doesn’t mean you can’t go off on a tangent and try your own thing. Afterall, that’s when you may see some truly original work for a change. When starting your sharpening journey however, it’s probably best to stick to the program for a while at least. What’s that old shampoo ad say? Once you know the rules, then you can break them.
What are we sharpening?
Donna’s favourite thing is a Narex 22mm bevel edge cabinet chisel. And a chisel such as this is a universal thing. If you can learn to sharpen this chisel, you can sharpen most woodworking tools.
Gear we are using
Because waterstones a little more complex than diamond stones, we will focus on them for this discussion. Essentially the way you sharpen differs little between waterstones and diamond stones. There is a difference in touch, this you need to learn through practice.
Here’s a list of the gear we will be featuring below. If you are purchasing your first kit of hand sharpening gear, this is a good shopping list.
- King Waterstones - 800 , 1200 and 6000 grit
- A Pride Abrasive 120 grit flattening stone
- Sharpening stone holder
- Veritas or a Lie Nielsen sharpening / honing jig
- A leather strop and honing compound
- A spray bottle and rags
- Suitable music
Preparation
If you are using diamond stones to sharpen your chisel there is little preparation required apart from pulling out the stones and if necessary, setting them up in a stone holder. Otherwise, diamond stones are ready to go from the get-go.
Flattening
If you are using waterstones, the first thing you should do is check that your waterstone is flat. Brand new stones are usually flat straight out of the box. Yet a few licks across your flattening stone won’t hurt either way. If your stones are used, definitely flatten them before you start. Depending on the system you use, stones can be flattened either wet or dry.
Get soaking
Then they need a soak. Well, the lower grade ones at least. The 800 and 1200 King waterstones should be submerged in a container of clean water about twenty minutes before you plan to start sharpening. You will notice that the soaking stones emit tiny bubbles as the air is displaced from the clay matrix. Once the bubbling stops you know the stone is saturated. There is no point in soaking the 6000 stone, these stones are so dense water they will not absorb water.
Now you are ready
You now have a soaked 800 grit waterstone mounted in a stone holder. Lay out some plastic or some other device to contain any mess on your bench. Have handy your rags and spray bottle of clean water. Put on a CD or turn on the radio.
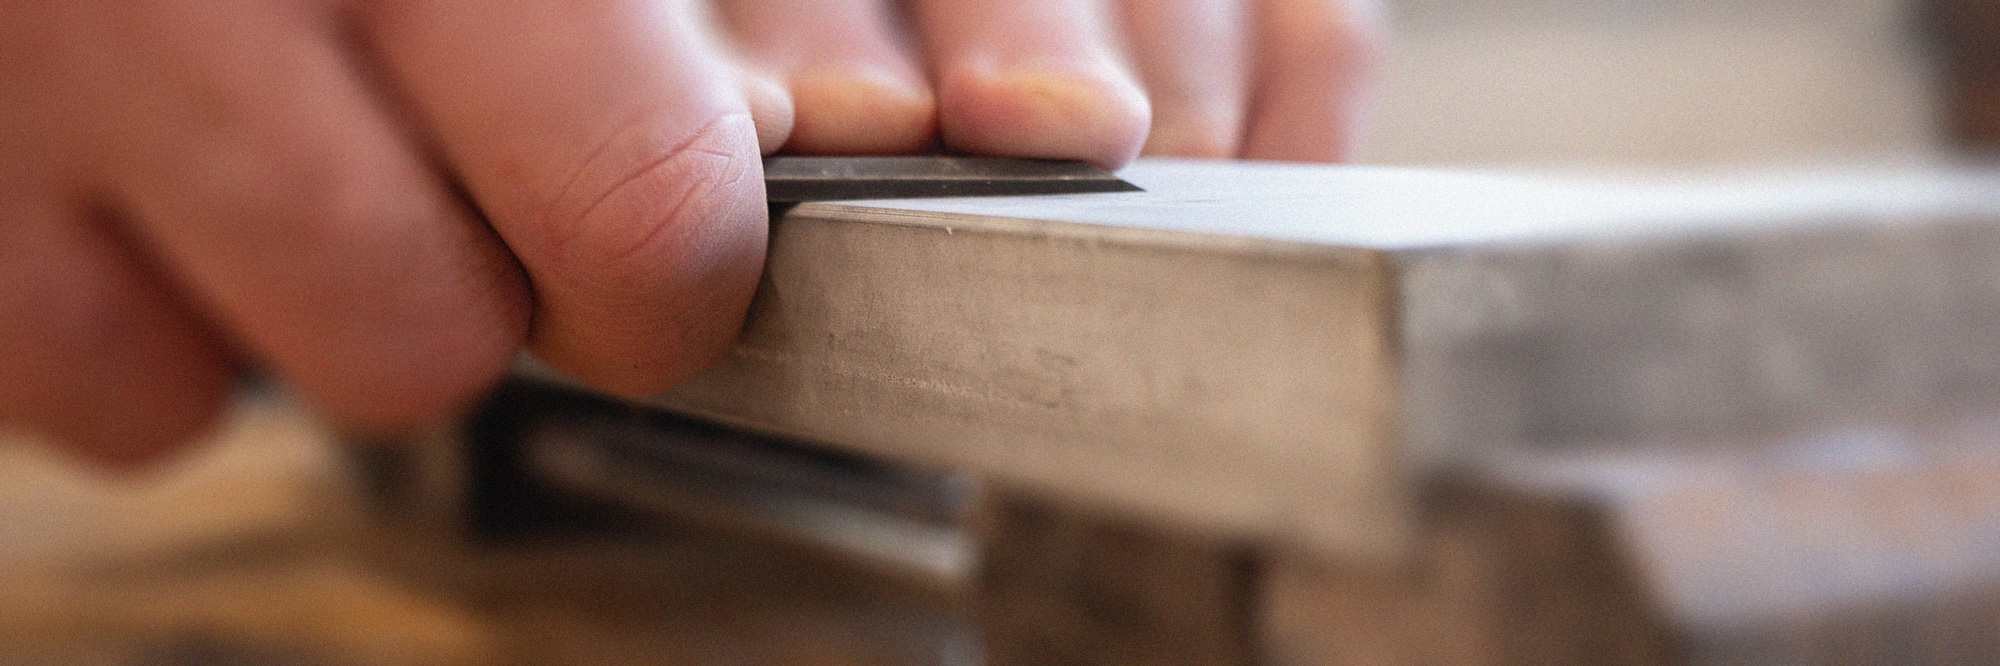
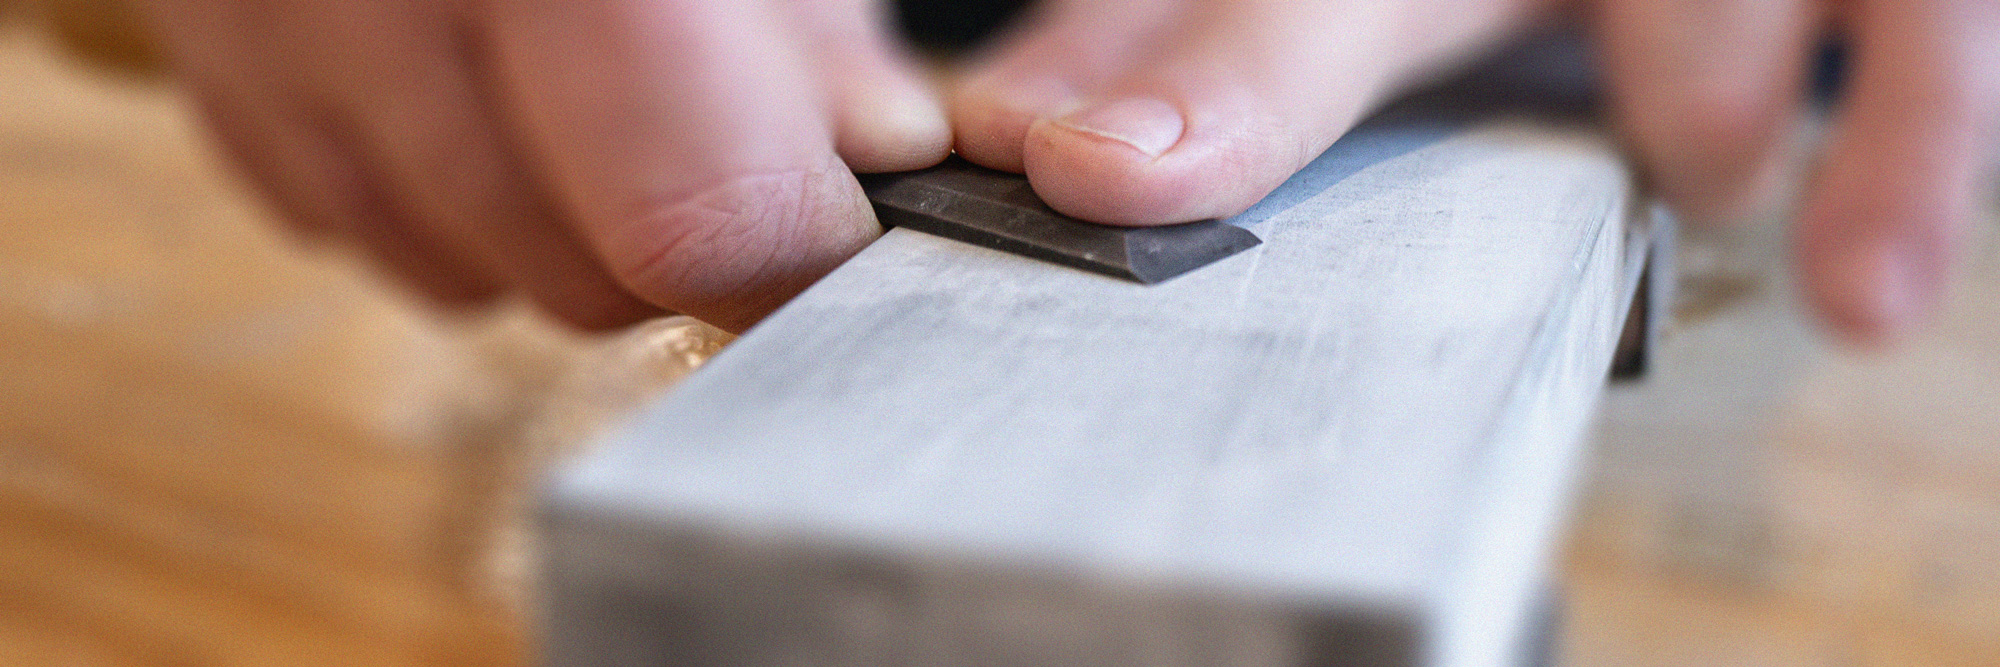
Step 1 – Flatten the back
The first thing to do is flatten the back of your chisel. This my technique. I hold the chisel midway in my right hand and have my first two fingers of my left hand pressing down on the back of the chisel about 20mm from the bevel. I then rub the chisel back and forward along the full length of the stone. I apply some pressure, just enough to keep the entire back of the chisel flat against the stone surface. You don’t need to force it, just firm even pressure.
Only 30mm
You only need to flatten the first 30mm or so of the chisel back. Some woodworkers, usually new woodworkers, believe you need to flatten the whole surface. This is not true. And for some types of chisels, it is either completely impractical or impossible. 30mm is roughly half the width of the waterstone. To set this distance, use the first finger of your hand holding the chisel as a guide. This finger should be curled under the chisel, and let it ride along the edge of the stone as you work.
When is it flat?
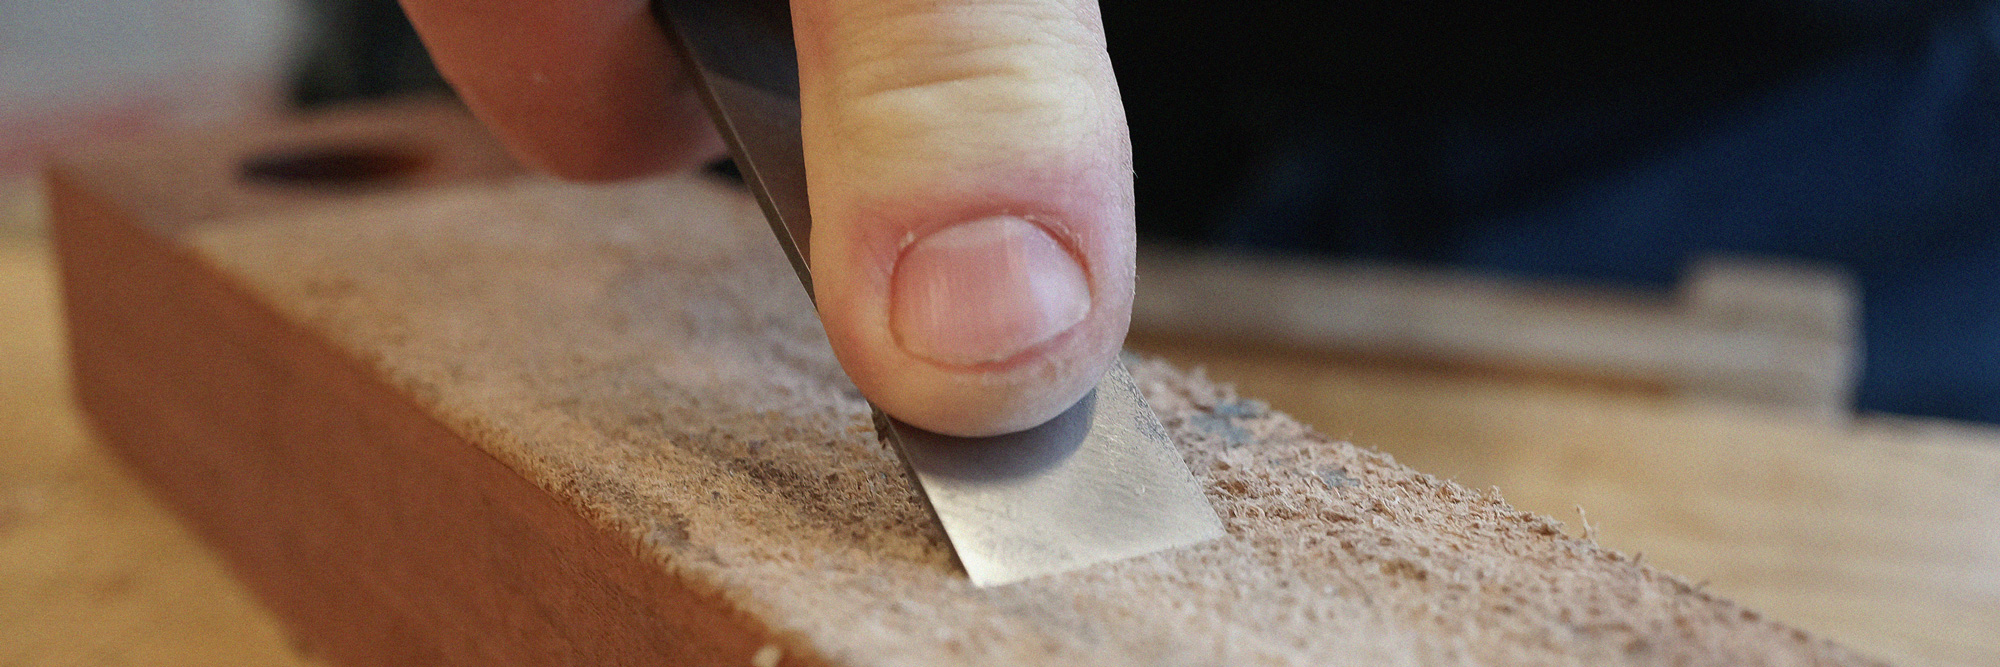
When do you know the back of the chisel is flat? While you are working, you will start to notice a change in colour of your chisel back during the process. It should become an even metallic grey all over. If it is not an even metallic grey, and you have pools of different colours - the chisel back is not flat. Along the back of the cutting edge should also be grey with no shiny bits. If you see any shiny bits at the edge, the chisel back is not flat.
It may sound simple to achieve this, and in some respects it is. Yet if you are new to this game, you may find this task difficult. Remember – even pressure, even smooth strokes, not too much pressure. Once the chisel back is flat using 800 grit, repeat this process on the other stones as well going up through the grades. I don’t bother going past 6000 grit. At 6000, your chisel back should gleam like a lippy mirror.
Do I flatten brand new chisels?
Most chisels need work even if they are brand new. Donna’s 22mm Narek is a good quality, moderately priced chisel, yet it will need work to “tune” it to a useable standard. Some feel that this is unacceptable, and the chisel should be ready straight out of the box! It’s not unacceptable, it’s just plain reality. Even premium brands such as Veritas and Lie Nielsen require some work to bring them to an optimum level of flatness and sharpness. Deal with it.
Step 2 – Setting up your sharpening jig
You now have a chisel with a shiny flat back. Time to grind the primary bevel. Generally, bench chisels such as Donna’s will feature a 25 degree primary bevel. Chisels may be ground to other angles such as 30 degrees, specifically for chopping mortises and stuff. For general bench work, 25 degrees is the go.
To grind this bevel, you use your grinding / honing jig. It’s a bit difficult to explain how to set the jig up, as I don’t know what type of jig you are using. No worries though, refer to the manufacturer’s instructions or website for guidance on how to set up the jig so it will grind 25 degrees. However, I can offer you three pieces of advice to help you avoid disaster:
Make sure the chisel is flat in the jig
If you are using a Veritas sharpening jig. That uses a pressure bar to hold the chisel in place. Make sure the pressure bar is parallel with the bed of the jig when the chisel is fixed in place. If it is not parallel, the chisel will not be sitting flat in the jig. This is bad and your primary bevel will be skewed.
Make sure the chisel is perfectly straight in the jig
Front to back, make sure the chisel is straight. If you are using a Veritas sharpening jig, it is relatively easy for the chisel to be slightly out of line if it is not fitted correctly. Again, this is bad and will skew your bevel. The jig comes with a registration device, use it carefully.
Don’t over tighten knobs
All these sharpening jigs have nice, well machined tightening knobs. Like most knobs, you don’t want to overtighten them. An overtightened knob is hard to undo, and you risk damaging the knobs thread. As with applying pressure to flatten the back of your chisel, just firm pressure - don’t flog your knobs.
Setting the chisel up in the jig is important. Take your time and check your work. The points above provide some insight into the key advantages of side holding jigs such as Lie Nielsen’s honing jig. That being said, I use the Veritas version, and I deal with the above.
Part 3 - Grinding the primary bevel
Your chisel is now set up nice and straight in your sharpening jig. You are ready to grind. Place the jig and chisel combo on the 800 grit stone with the bevel down flat on the stone surface. I grip the jig with both hands on either side of the jig with my thumbs hooked over the top of the back edge. And I point my index fingers down the length of the chisel back creating a triangle effect. This shape works for me because it is comfortable, balanced and focusses pressure down to the tip of the chisel. If you are new to this, spend some time finding the grip right for you.
Pull on the first stroke
Instinctively you will want to push the jig away from yourself. Don’t do that. Get into the habit of pulling the jig towards yourself on the first stroke. Why? If you are using waterstones to sharpen, the higher-grade stones tend to be soft. If you push forward you may dig into the surface of the stone and damage it. That’s a re-flattening! It’s not such a problem with diamond stone, yet it’s just not a good habit to get into.
Grind away!
Pull first and off you go. Using firm even pressure work the jig back and forward along the length of the stone. If you are using a waterstone, try to use the whole width of the stone and reverse the stone after a while so it wears reasonably evenly. If the waterstone feels a little dry, use your spray bottle to add a little more moisture. If the slurry starts getting out of control, use you your rag to wipe away the excess, reapply some water and start again. If you are using a diamond stone, none of this really applies.
So how long will this take?
No idea. It depends on the state of the chisel. If you are just touching up, regrinding the 25 degree bevel may only take a few minutes. If you are dealing with a badly chipped chisel, make sure you put on an extra-long CD like Prince’s Emancipation. And if you are grinding for a while you may need to re-flatten your waterstone at some point. This is the advantage of using flattening stones such as the ones produced by Pride Abrasives - wet or dry you can flatten.
Ok, I’m done with 800 grit
After a time, you have a flat, even and shiny 25 degree bevel. Guess what? Time to go up a grade. Whack in the 1200 grit stone and start again. This time around it won’t take as long to grind the surface, after all, you are now not really shaping the bevel, you are regrinding the bevel to a finer grade. Again, it’s hard to quote a lead-time, I reckon the play time of Jungleland by the Boss would cover it easily. And yes, once you have done with 1200, go to the 6000 stone to create a mirror finish on your bevel. Be sure to not touch your knobs on the sharpening jig through this process, you do not want that chisel to move at all.
The 6000 grit stone
Your 6000 grit stone will not soak and absorb water. When using higher grade stones such as these, use your spray bottle to apply water.
Step 4 – Grinding a secondary bevel
Step 4 is optional I suppose. Some woodworkers don’t use a secondary bevel. In theory they are not even required.
What is a secondary bevel?
Otherwise known as a micro bevel. Secondary bevels are an additional bevel ground to the primary bevel that is usually up to 5 degree greater that the primary bevel. Some believe the secondary bevel makes the chisel “sharper”. This is not really the case as there is such a small difference in degree. The real reason you apply a secondary bevel is to save you time.
As you use your newly sharpened chisel, straight away it slowly starts to go blunt. The work you are doing, and the quality of your chisels tool steel will determine how long it will take to go blunt. Stropping will allow you to re-hone the chisel somewhat, yet there will come a time when you need to regrind the bevel. Rather than regrinding the whole primary bevel, which is time consuming, all you do is grind a tiny micro bevel. The micro bevel freshens up the cutting edge and only takes a few minutes to create. This may be repeated a number of times, or until you drop the chisel on the floor again.
A great feature of the Veritas honing guide is the Micro Bevel Adjustment Knob. Give it a tweak and add 1-2 degrees to your primary bevel. Worth considering.
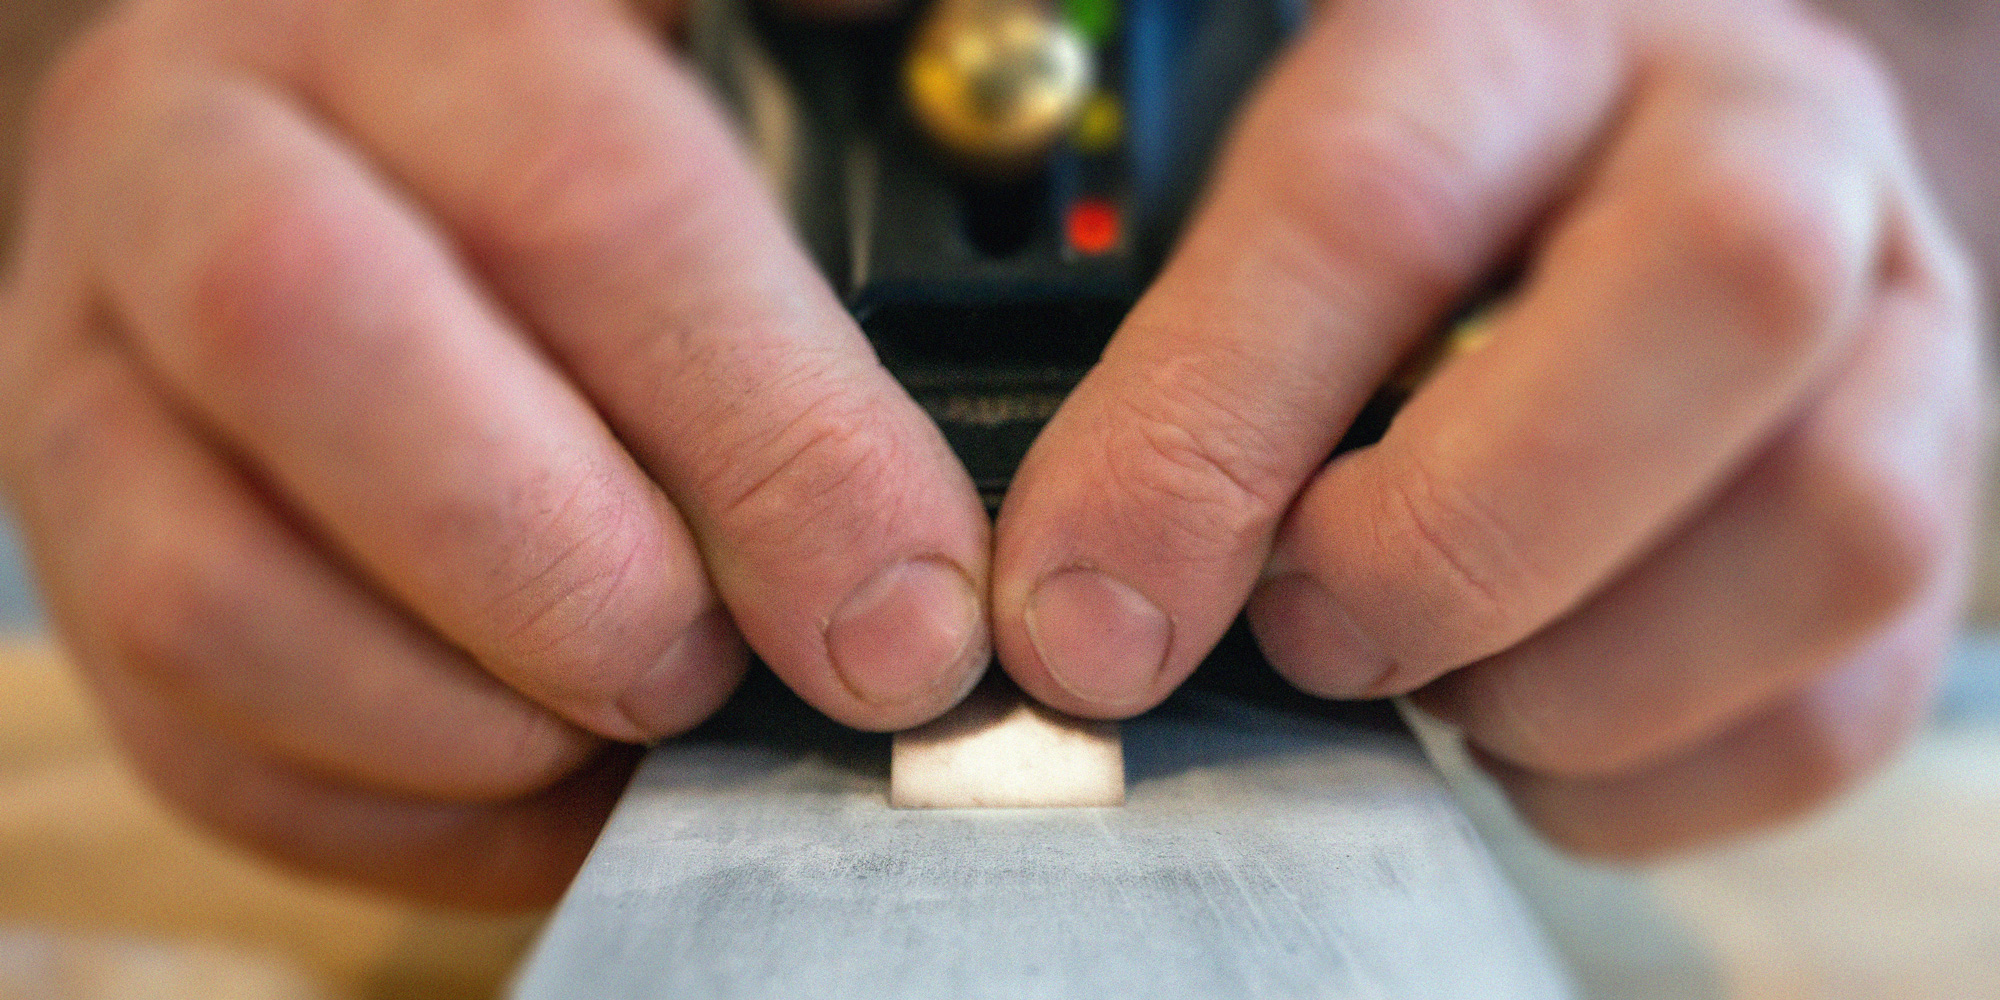
Step 5 – Getting stroppy
Once the primary bevel is ground, run your finger across the back of the cutting edge. Can you feel the burr? This is the small amount of waste metal created during the grinding process. Don’t panic! the present of a burr indicates that the edge is indeed sharp.
Removing the burr
I usually remove the burr as I grind. That is, as I move up through the stone grades, I quickly give the back of the chisel a quick lick across the 6000 grit stone without removing the chisel from the jig. This works for me. However, once I have ground the primary bevel to 6000, I will go to the strop.
Laying the strop flat on the bench, I apply a little honing paste to the leather surface. With the back down I drag the chisel along the strop applying pressure. Repeat as many times as you like. I flip the chisel over and give the bevel a hone as well. Run your finger across the edge again, behold the burr is gone!
Honing
A chisel may appear to be quite sharp, yet it is not truly sharp until you hone. Once the burr is removed, you can continue to strop to really polish the cutting edge. Polishing away all the tiny grinding scratches to reveal a truly sharp edge.
Hone constantly
While you are woodworking, hone your chisel all the time. This will help keep your chisel sharper for longer. Once just honing becomes less effective and the edge starts to wear, give the back of the chisel a quick flatten on the 6000, add a micro bevel and a quick hone. Your chisel will give you hours more sharp time. As I have said before, woodworkers with sharp chisels sharpen constantly.
And Remember, Learning is Doing!