Setting up a workshop poses a unique challenge when dealing with limited space, be it in a garage, spare room, or outdoor shed. To create a comfortable and productive workshop, you may have to get strategic when it comes to lighting fixtures and electrical layouts. Thoughtful consideration here will enhance the overall functionality of your small workshop.
Lighting
Working in poor lighting conditions will not only affect the quality of your work, but your safety as well. Natural light is the best, that is, if you’ve got it. Being able to open a garage door or window not only lets in natural light, but will allow passive ventilation of fine dust particles – an improvement in safety and cleanliness!
If you don’t have a lot of access to natural light, it is important to determine where light fixtures will be most needed, and the range of light throughout the space. Thankfully, for small workshops this step is much less complicated compared to large shops. Handy magnetic LED lights can be a big winner on your machines or work areas that need that need extra illumination.
Electrical
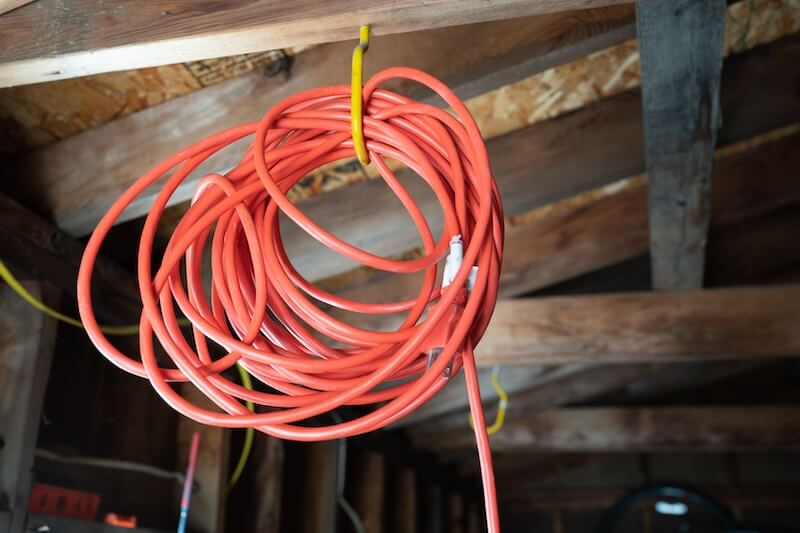
It is important to refer back to your shop plans and determine how you will run electrical cords safely and efficiently. When working with power tools, and especially static machinery, it is extremely important to determine whether your household mains has the capacity your workshop requires.
It is important to plan for the max wattage of running at least two machines at once – the woodworking machine and the dust extraction. Having machines or power tools located near electrical outlets will reduce the constant need to be walking back and forth to turn them on and off. Often in home sheds or garages, however, there may only be one electrical outlet available. In this case, voice or mobile phone activated switches can also be a great solution to turn switches on and off remotely.

So, what if you want to work with machinery but simply don’t have the floorspace? Enter benchtop machines! Unless your projects involve machining wide boards, small machines like benchtop jointers, thicknessers, sanders, drill presses and jobsite table saws will be your best friend.
These machines are small enough to be packed away under a benchtop, in storage spaces, or worked to fit within the design of your workbench. They will get the job done without straining your home grid. At our Timbecon workshop, we’ve designed a moving workbench which fits our small table saw flush with the top, with our benchtop machines stored underneath, able to be brought out as needed. This way we maintain the most benchtop space for working on our projects once the machining is complete.

Dust Extraction
 Dust extraction is essential when using power tools and machines, as these will create the finest airborne particles. If you are only using hand power tools, often a shop vac will suit just fine. Easily moved around to where you need it, and small enough to be stored out of the way.
For static machinery, larger dust extraction units are necessary to extract safely and efficiently. Employing a wall mounted dust extractor and ducting is a great way to take advantage of the vertical space in your shop, saving on your workshop footprint, and removing the likelihood of tripping over dust hose. Most standalone units on the market will feature castor wheels, so they can be moved around as needed for a flexible floorplan.

An automated system such as the iVac Switch Box, designed for small workshops and household power, will automatically turn on once your machine or tool is powered up. This unit also features a handy ‘Turn On Delay’, fantastic for avoiding panel circuit breakers being tripped in the home workshop during the initial power surge.
For a deep dive on setting up your dust extraction, read our previous blogs:
Building Your Own Dust Collection System - Part 1
Building Your Own Dust Collection System - Part 2
How to set up a phenomenal dust extraction system (on a budget)
Setting up these fundamental elements in your small shop may at times feel like a bit of a puzzle. If you’re unsure of how to proceed, don’t hesitate to reach out to an electrician. It is, after all, much better to be safe than sorry.
Click here for Part I - Workflow and Layout
Click here for Part III - Storage
Click here for Part IV – The Workbench


